Integration Guide
This guide provides an overview of integrating KwickBit payments into your application. For detailed implementation examples, see the specific guides below.
Overview
KwickBit integration consists of two main components:
- Backend Integration - Handle checkout session creation and webhook processing
- Frontend Integration - Display payment buttons and handle user interactions
Quick Start
-
Install the SDK
npm install @kwickbit/sdk -
Set up your backend - See Backend Integration for Express.js and Fastify examples
-
Add frontend components - See Frontend Integration for React, Vue.js, and vanilla JavaScript examples
Environment Variables
You'll need to set up these environment variables:
KWICKBIT_API_KEY- Your API key from the KwickBit dashboardKWICKBIT_DYNAMIC_LINK_ID- Your dynamic link ID from the KwickBit dashboard
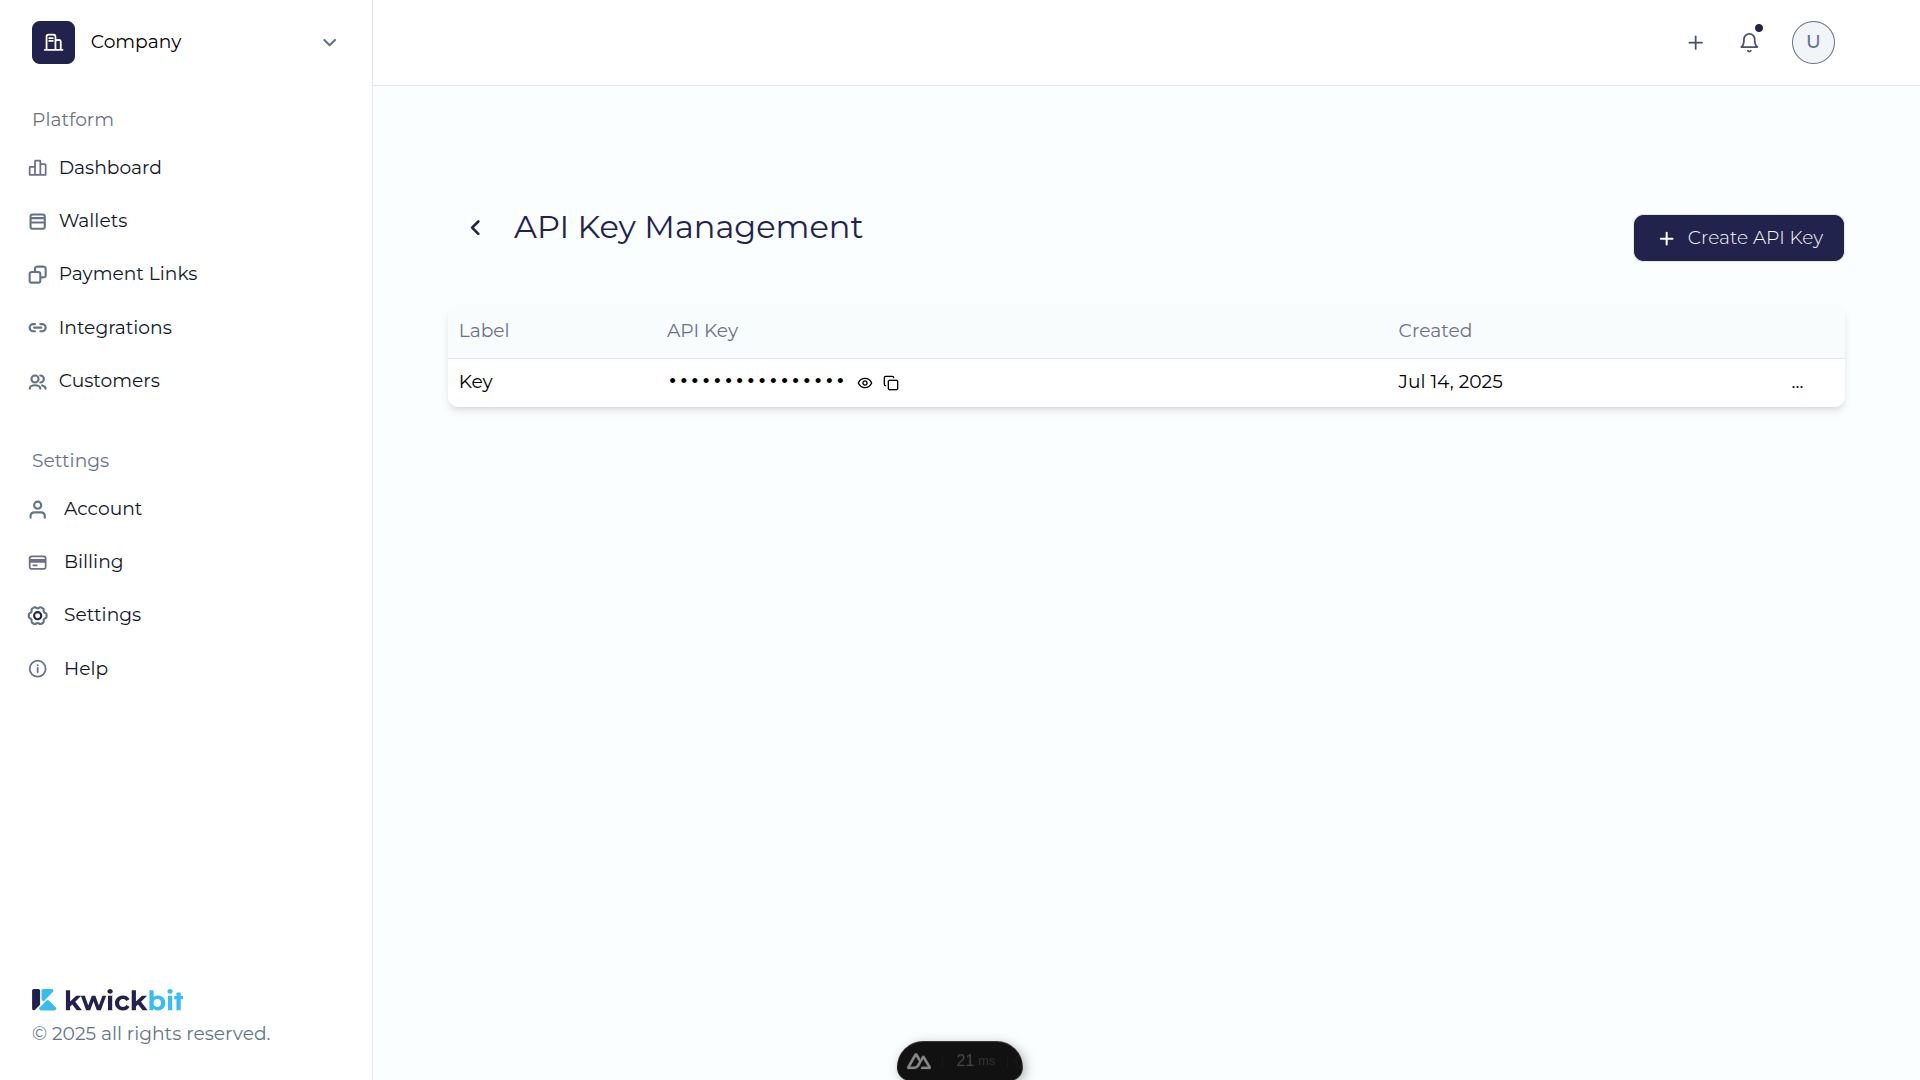
API Keys
You only need one API key for your entire application. This key is used to authenticate all requests to the KwickBit API.
To get your API key:
- Go to Settings > API Keys
- Click "+ Create API Key"
- Give your key a descriptive label
- Copy the generated key and store it securely
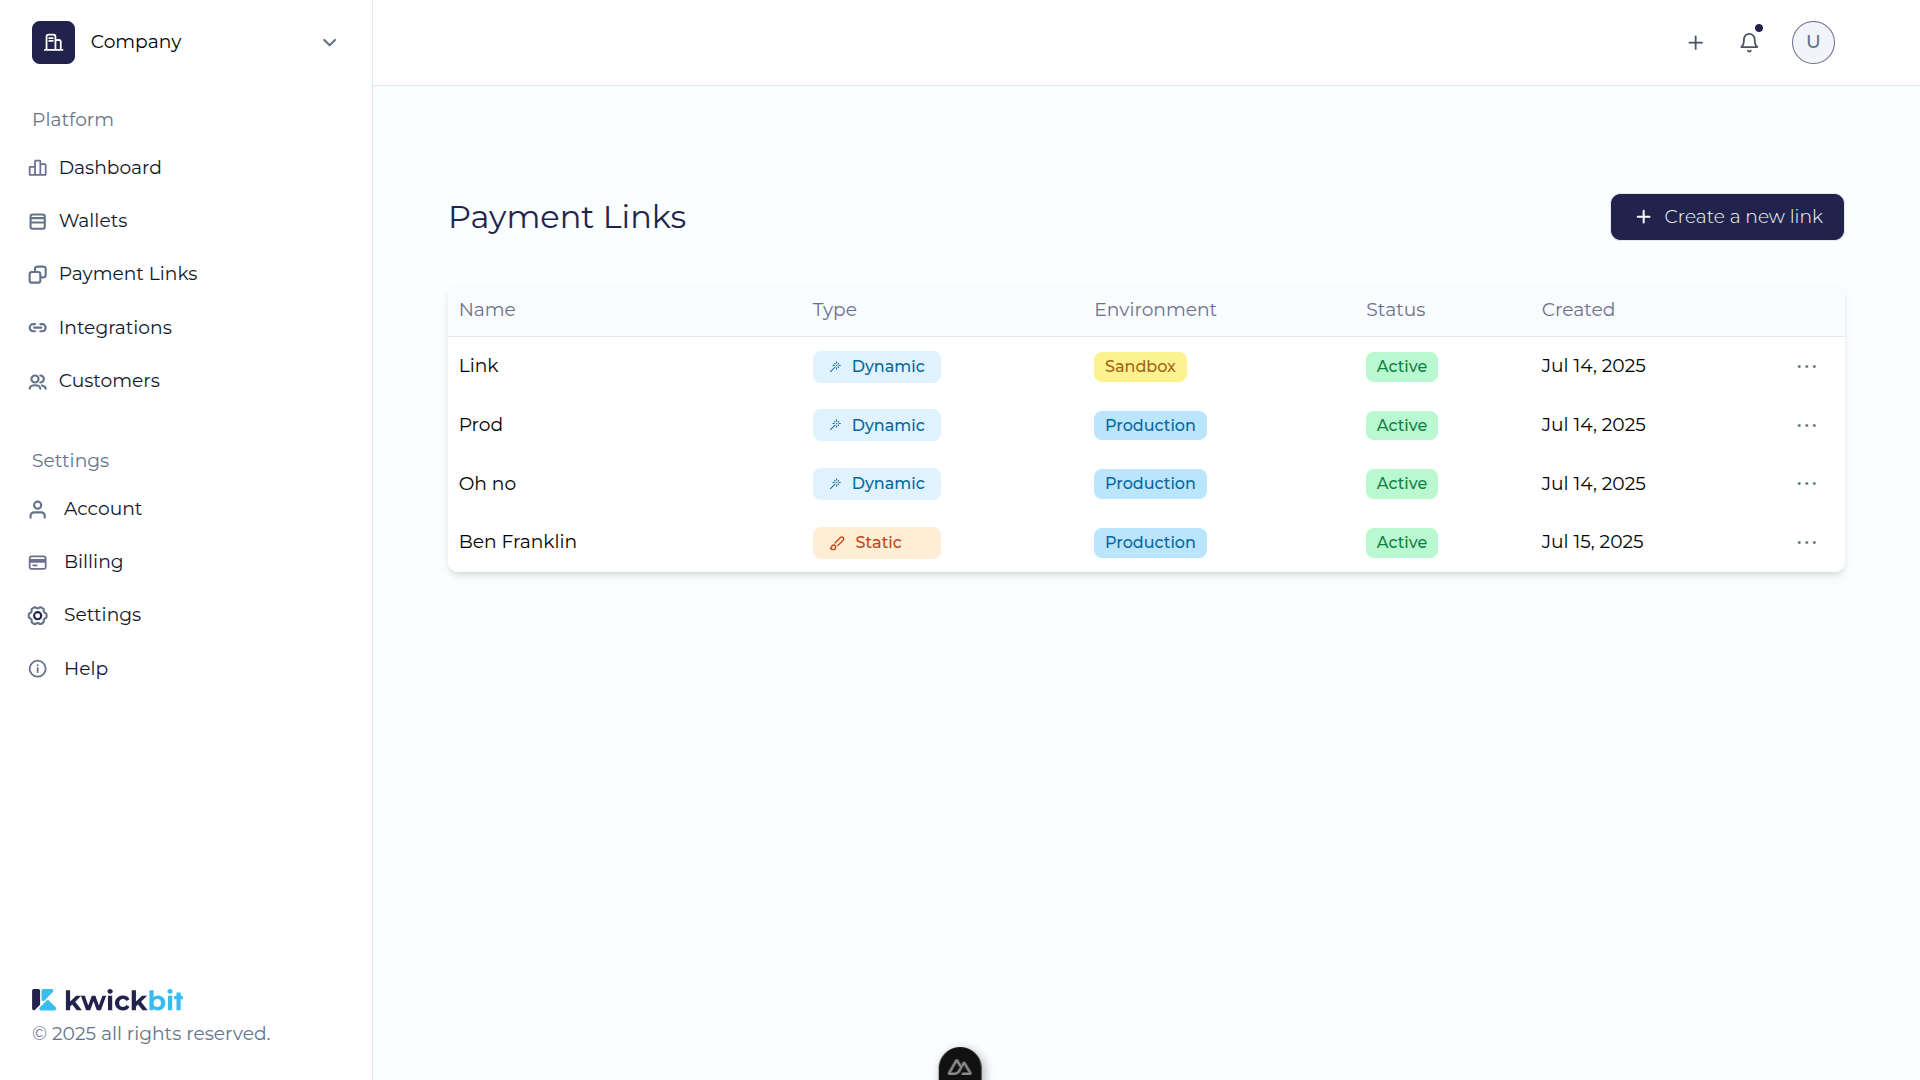
Dynamic Links
While you only need one API key, you can create multiple dynamic links for different use cases:
- Different stores - Create separate links for each store
- Testing environments - Use sandbox links for development
- Different products - Create links for specific product categories
To create a dynamic link:
- Go to Payment Links
- Click "+ Create a new link"
- Select "Dynamic" as the link type
- Choose your blockchain network (Sandbox/Testnet or Production/Mainnet)
- Copy the generated link ID
Next Steps
- Backend Integration - Complete backend implementation examples
- Frontend Integration - Frontend component examples
- API Reference - Complete API documentation